<< Holiday closure >>
Our office and warehouse is CLOSED from July 24 2026 until August 21 2026.
Please note that orders PLACED and PAID BEFORE July 23 will be treated before the holiday period.
Orders and other mails placed after this date will be treated and processed from August 24 2026.
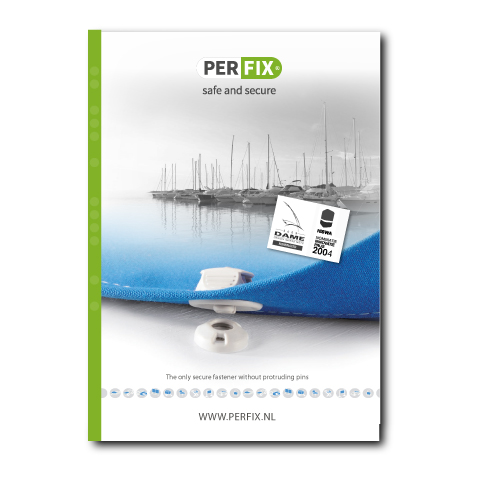
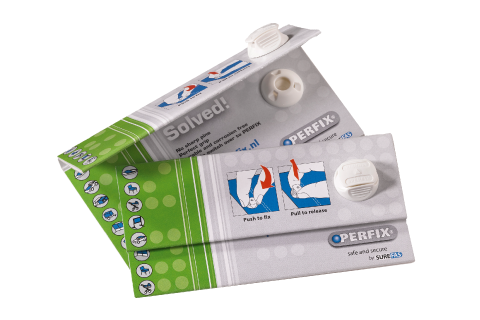
Born out of pure frustration over these protruding parts sticking out on deck of the boat. PERFIX is designed for fixing covers on boats, but nowadays found in all kinds of applications where safety or comfort is an issue.
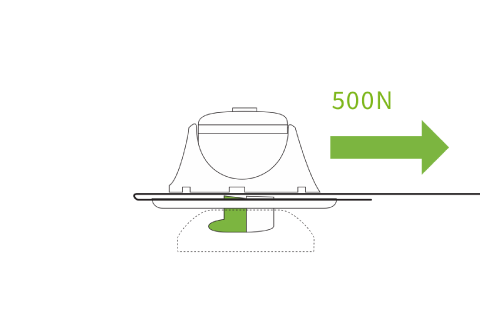
A textile fastener that won't pop loose like that. Not even at 500N. A simple lift of the cap will release.
No pins. Or other protruding parts causing damage or injuries. Allowing more for freedom of design of your product.
The material brings a 100% corrosion free solution that matches any colour you like. Making any product look great.
PERFIX is a secured connection without using any protruding parts. These two features combined make this system unique and form a solution for many different applications. PERFIX is developed for fastening marine covers and sprayhoods on boats, but found its way to many different other situations where safety, comfort and elegance are required to fix any textile.
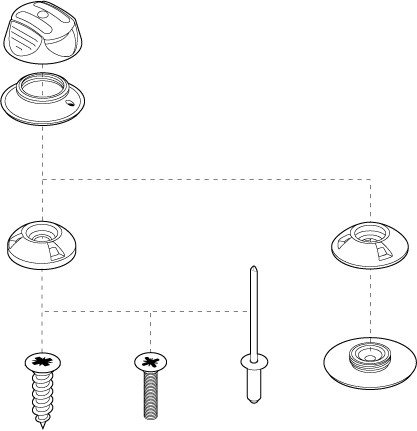
The PERFIX system consists of buttons and receivers. For the receiver-part there is a version for fixed surface (using screws etc.) and one for fabric. PERFIX-parts are sold separately and are available in different colours. In this way, several combinations make it able to match deck and cover colour. Special colours on request.
PERFIX is patented and a registered trademark.
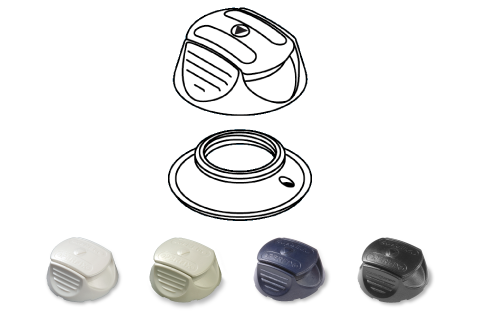
Button incl. button-ring
1001 button + ring white
1002 button + ring blue
1003 button + ring black
1004 button + ring grey
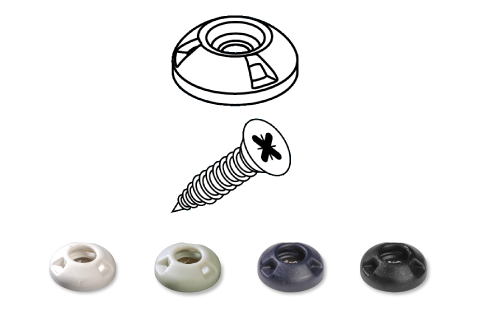
Receiver S incl. self-tapping screw in SS 316 (4,2 x 16 C-Z A4)
2011 receiver S white + screw
2012 receiver S blue + screw
2013 receiver S black + screw
2014 receiver S grey + screw
Also fits flathead countersunk M4, self drilling screw and blind rivet
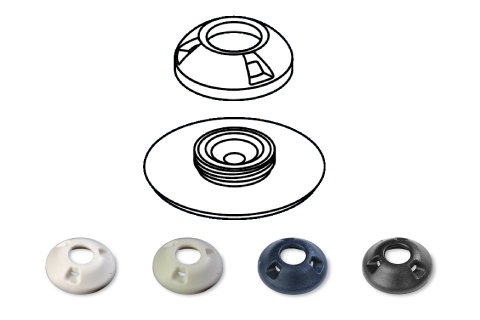
Receiver C-C incl. receiver-ring
2001 receiver C-C white + ring
2002 receiver C-C blue + ring
2003 receiver C-C black + ring
2004 receiver C-C grey + ring
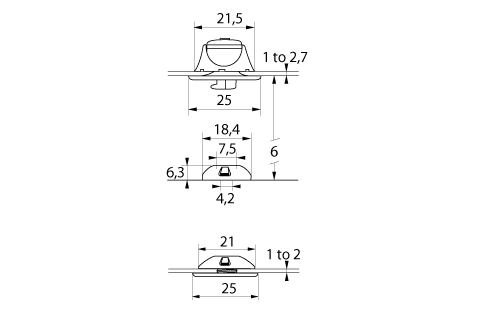
dimensions are in mm.
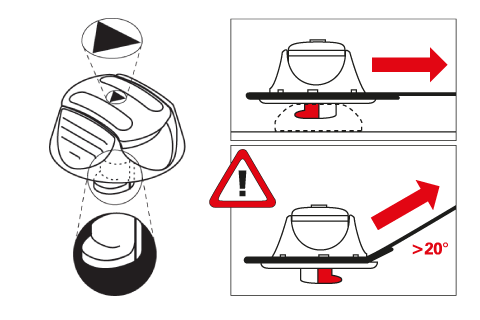
make sure the hook is pointing in the right direction for optimal hold.
tested in different directions: from horizontal to vertical it holds until 3 layers of fabric tear apart.
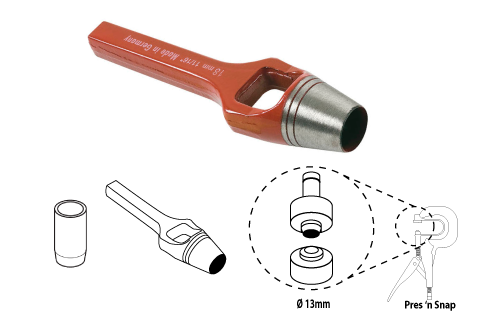
As PERFIX requires a 13 mm (or 1/2") hole in the fabric, some hole punchers come in handy
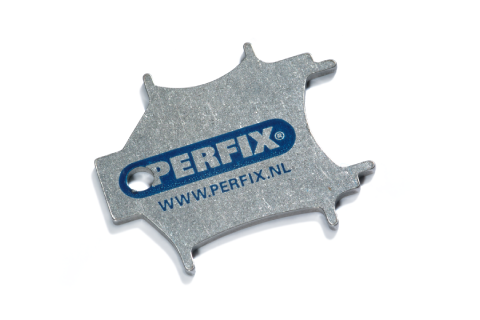
you need this little key to screw the ring to the button. It is available separately and is included in every 100-box, starter-kit or DIY-kit
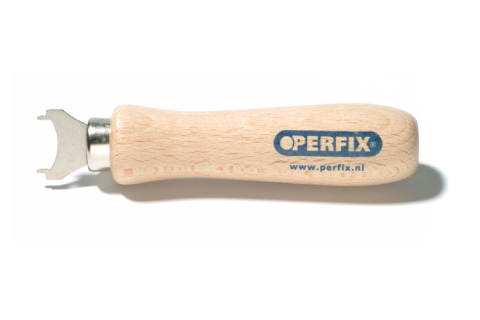
This tool ensures a better grip while screwing the ring to the button.
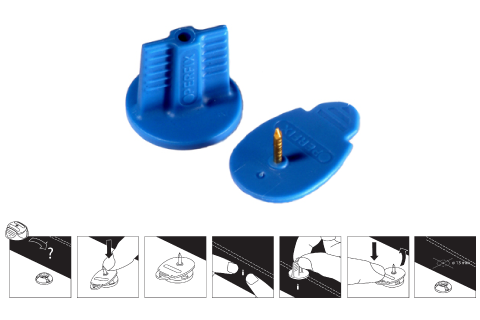
This time saving installation pin is used for holding the fabric into place on receiver-points during templating.
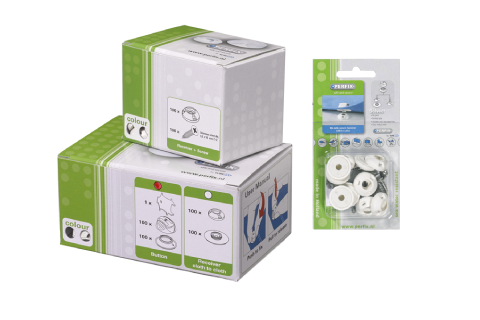
PERFIX is available in packs of 4 and 10 pcs. per part and per colour. For the professional there is a 100 pack. Bulk is on request.
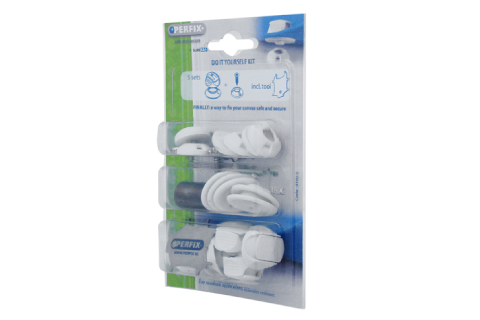
The DIY-kit carries 5 complete sets in white incl. all tools.
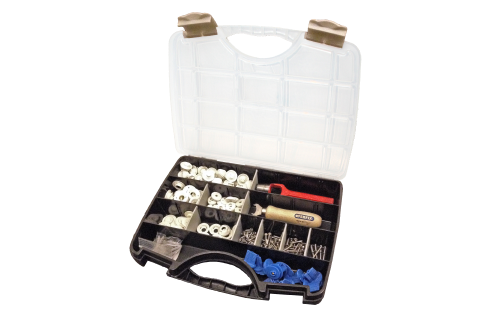
For the professional that wants to test PERFIX on 1 or 2 jobs there is this Starter-Kit. It carries 30 complete sets in white incl. all tools, accessories and time-savers. There is only one chance for a first impression.
see detailed content
for more info and an overview of the assortment.
A sample in your hand tells more than a 1.000 words. This sample card helps you share your enthusiasm for PERFIX.
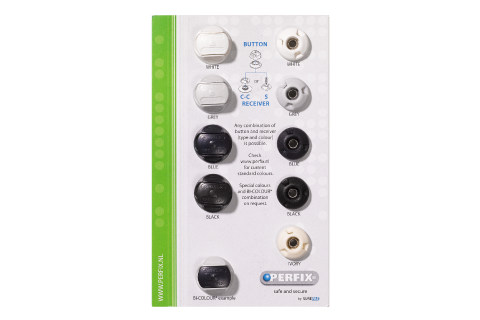
Shows the standard colour options for real.